The Struggle is Real-color steps
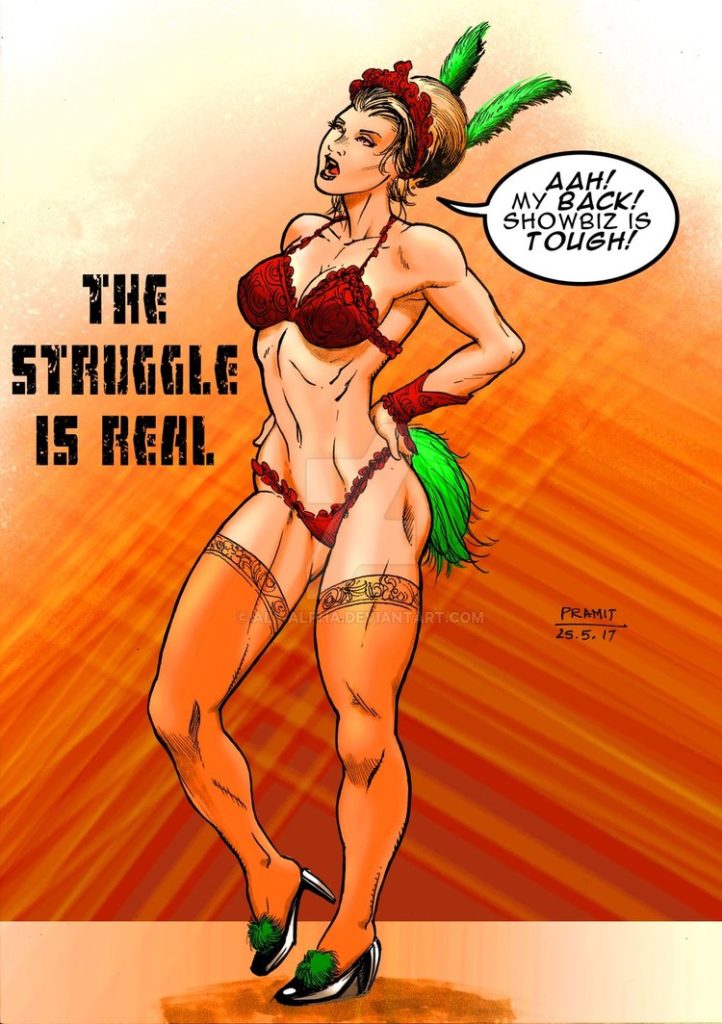
The struggle is Real-colored by Pramit
Chulmaan Khan & Prof. Anda-Man are on paid leave today. So this is a shot step by step for coloring some images.
Alright, this isn’t a great tutorial, just a step by step in short for artists who would like to get their things colored by themselves. I saw some You tube videos by K. Michael Russell and followed his pattern. But the videos aren’t always as directly handy as some text. And I believe there must be some other people like me who prefer text than video.
Step1. Get the BnW image ready by opening it in Photoshop. Clean any marks, go to Edit, adjustment, threshold. Threshold the image so that you get a clear BnW version. You can skip this if you have a better range of greys and you like it dirty.(I like it dirty)
Step 2. Make a duplicate layer, call it INKS. Set it to Multiply blending mode. Click off the eye icon on the original layer. Only keep the eye icon ON on the INKS layer.
Step 3. Add a new layer, call it FLATS, set to normal blending mode. Drag it below the INKS layer.
Step 4. Add another layer called BG and color it in a solid color, i.e, all grey or blue or whatever you think is right for a BG. Drag it below Flats layer.
Step 5. Staying in the Flats layer, start coloring just flats, meaning no shades and shadows. Fill the spaces with their local color. You can also use the lasso tool to surround spaces of specific color and color them only. The order of layers is INKS(multiply)>Flats(normal)>BG(normal)
Step 6. Now , duplicate the Flats layer and name it COLORS. Put OFF the eye icon on Flats layer and get back on the Colors layer.
Step 7. Select the Magic Wand tool and grab the specific area you want to add shade or light to. Add shade and light using different brushes. Experiment with the different brush modes. Use darker shades of color for shadow, Use Hard light/ Dodge modes for lights of different colors.
Step 8. After the coloring process is done on the Colors layer, you can add different layers above it to add certain special fx.
Step 9. Go to the BG layer(solid color) and color/darken/light it as per your needs in background.
There, it’s done. Actually not done, since an artist’s work is never done. But since we live in this fake society, we gotta finish things some day. There are lots of other things that can be done. Pro colorists/painters add a 100 layers to get things right. I only used 4-5.
Bye!
Read my comics
Life-Time Issue 2 is available here-On Drivthru comics now- http://bit.ly/2ts8ztU
On Amazon kindle- http://amzn.to/2soH4lK
Life-Time Issue 1 is online available here at DrivThru comics-http://www.drivethrucomics.com/product/168570/Lifetime
NOTE- DON’T MISS OUR WEEKLY COMIC “LIFE-TIME” on the homepage, EVERY SATURDAY, WITHOUT FAIL.
PLEASE DO SWITCH OFF THE AD BLOCKERS FOR THIS SITE AS IT HELPS IN KEEPING THE SITE WORKING AND FREE. Thank You.Thank you very much!


Discussion ¬